
Creating A Design
This page is the end-to-end workflow, from an empty document to a routed, scaffolded structure. It ties together the tools covered in detail on Editing Tools, Views And Regions, and Selection.
Start From A New Document
Click New Document in the top toolbar. A design starts empty; you then add a region and place virtual helices into it.
Every design has a part at the top, the container that owns your planes and regions. Starting a design (as honeycomb, square or freeform) creates that part together with a default plane and a default design region, and you can Add Region for more later. See Mental Model for what those terms mean.
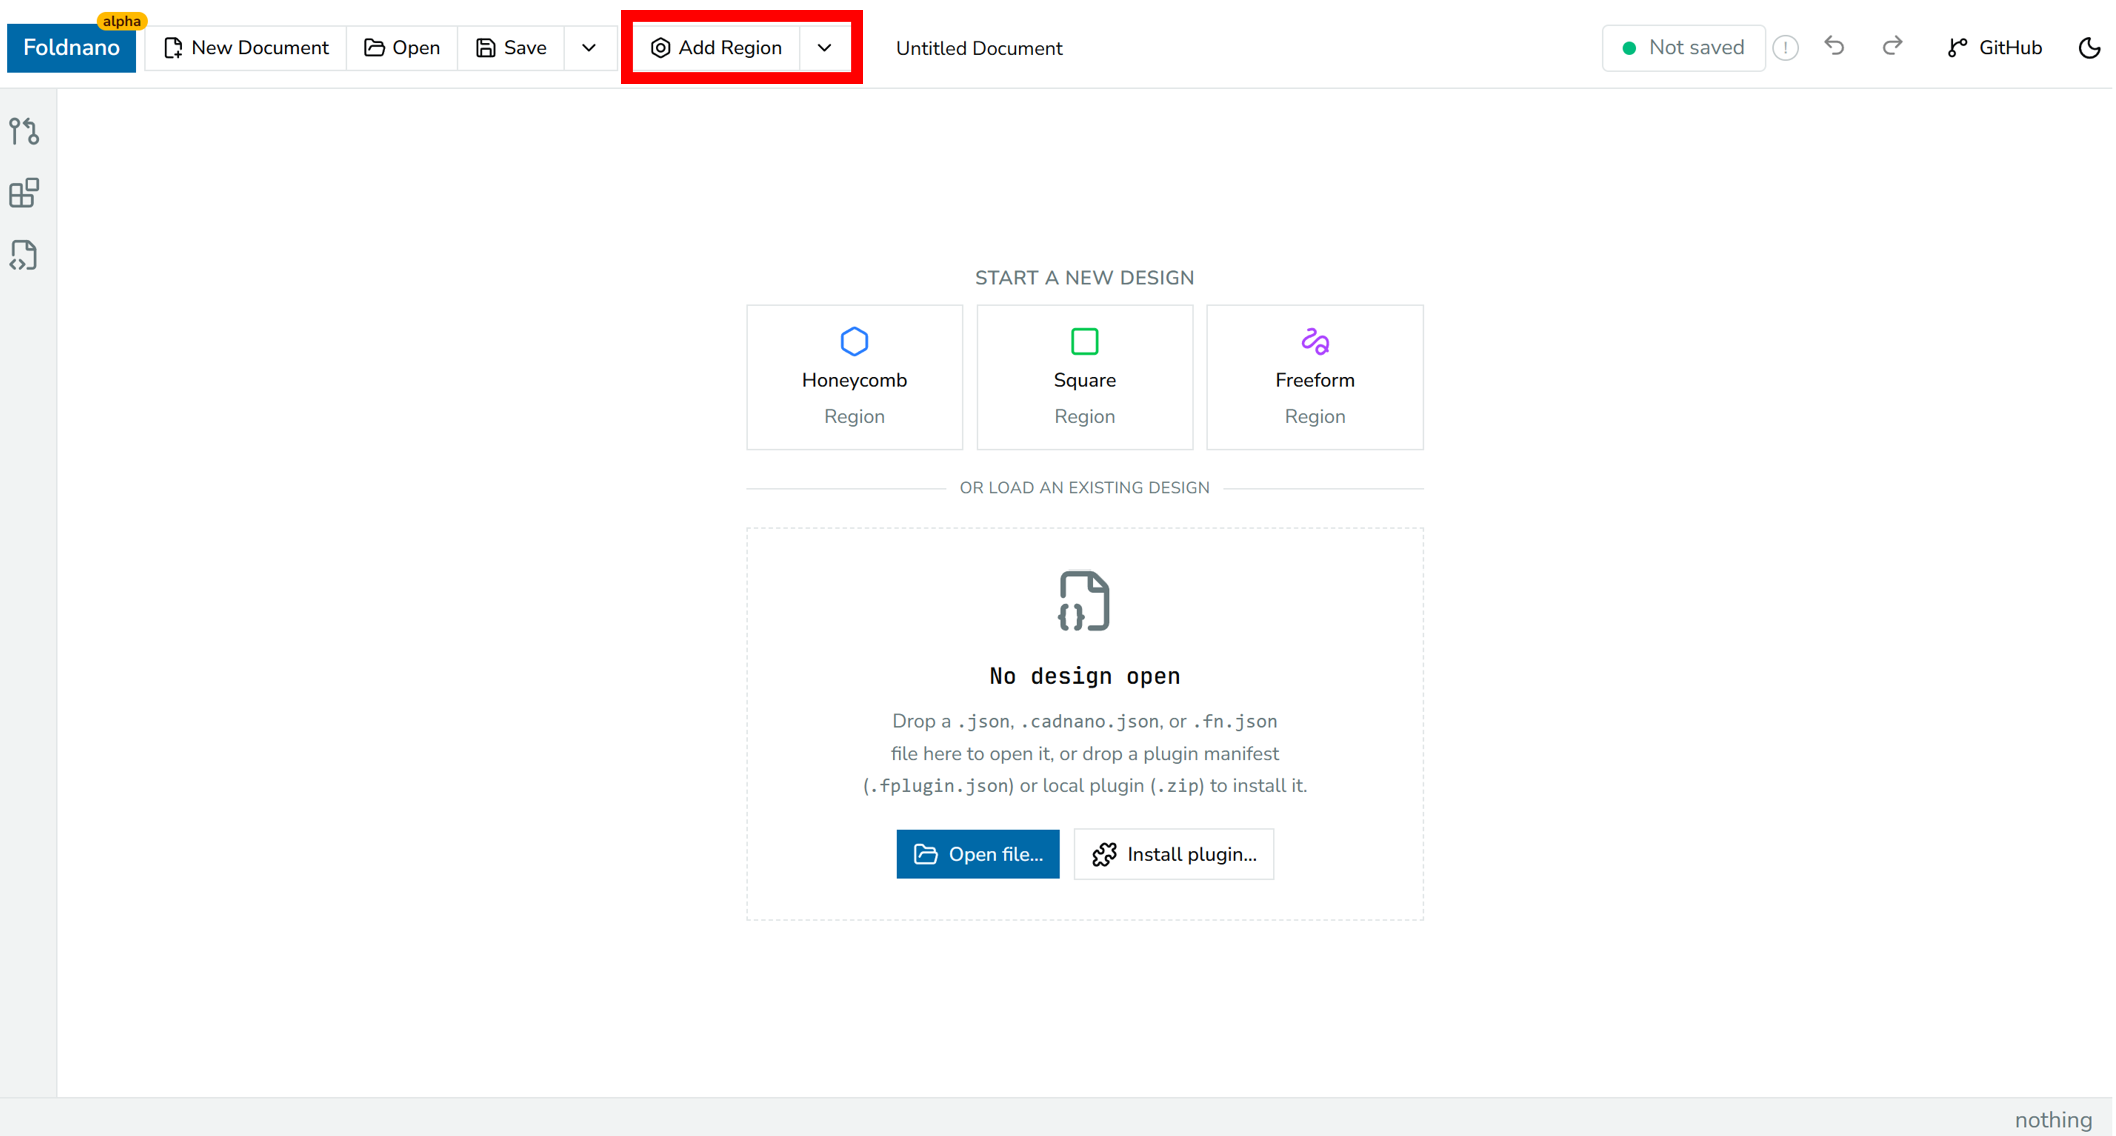
Empty-document state right after New Document, with the Add Region button highlighted.
Add A Region
Use Add Region in the top toolbar. The dropdown offers Add Honeycomb Region, Add Square Region, Add Freeform Region, and Load Cadnano Design as a Region (which imports an existing cadnano file into a new region). Wireframe design is planned; see Wireframe Designs for where it stands.
| Choice | Use when |
|---|---|
| Honeycomb lattice | You want cadnano-compatible honeycomb spacing and parity rules. |
| Square lattice | You want cadnano-compatible square spacing and parity rules. |
| Freeform | You want explicit helix positions, arbitrary angles, or non-lattice geometry. |
Each region carries its own plane. The active region controls which region receives new virtual helices and which region-specific tools (lattice grid, constrained crossover sites, lattice auto-staple) are available. You can have several regions in one design and connect DNA across them.
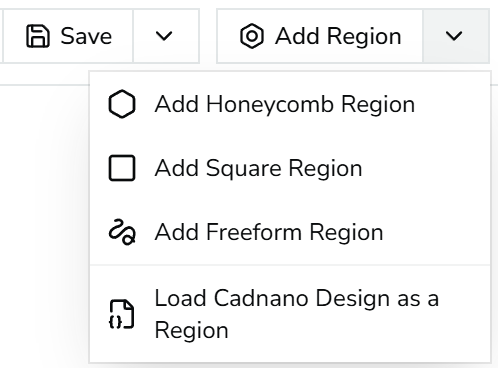
Add Region dropdown open, showing all four items.
Add Virtual Helices
Switch the left pane to Plane and select the Draw tool (n).
In a lattice region: click empty lattice cells to add a virtual helix at each. Placement is snapped to lattice cells, parity rules are enforced, and dropping onto an occupied cell is rejected (the model is left unchanged).
In a freeform region:
- double-click empty space to add a perpendicular helix (pointing out of the plane), or
- drag in empty space to create an in-plane helix along the drag direction.
Freeform movement and rotation update each helix's local frame, and those frames are preserved in .fn.json.
See Views And Regions for the full plane-view interaction list.
Route DNA
Routing happens in the strand viewer (right pane). Each tool is covered in depth on Editing Tools; the short version:
- Draw (
n): drag to create segments; drag between compatible ends or crossover sites to create crossovers. - Break (
b): click a position to insert a nick. - Select (
v): move ends, delete selections, collapse/expand regions, reorder visible VH rows. - Skip (
s) / Insert (i): edit per-base slot structure (deletions / insertions). - Paint (
p), Modification (m), Sequence (a): annotate existing oligos.
Crossovers are directional: connect the upstream 3′ end to the downstream 5′ end.
An order that avoids rework
- Route the scaffold path first.
- Mark it as the scaffold (explicit label, see below).
- Add or auto-generate staples.
- Add skips/inserts for length tuning.
- Assign sequence last.
Routing is easiest to learn hands-on: try it in the interactive walkthrough on Editing Tools.
Auto-Staple
Run Auto Staple (top toolbar; labeled Auto Staple — [region name]) once you have scaffold routing and want Foldnano to generate staple routing for the active lattice region.
Auto-staple is available only on lattice regions (it's gated on the region's supportsLatticeAutoStaple capability).
Auto Staple follows the same general approach as cadnano2's auto-staple: it lays staple strands along the scaffold, then adds staple crossovers at the lattice's crossover sites. Foldnano uses its own rules for which sites to skip and keeps any staples you have already drawn, so results can differ from cadnano's.
Warning
Always review the generated topology before assigning sequence, paying special attention to region boundaries (staples that approach where one region meets another), skips and inserts (these change effective length), and very short or very long resulting staples.
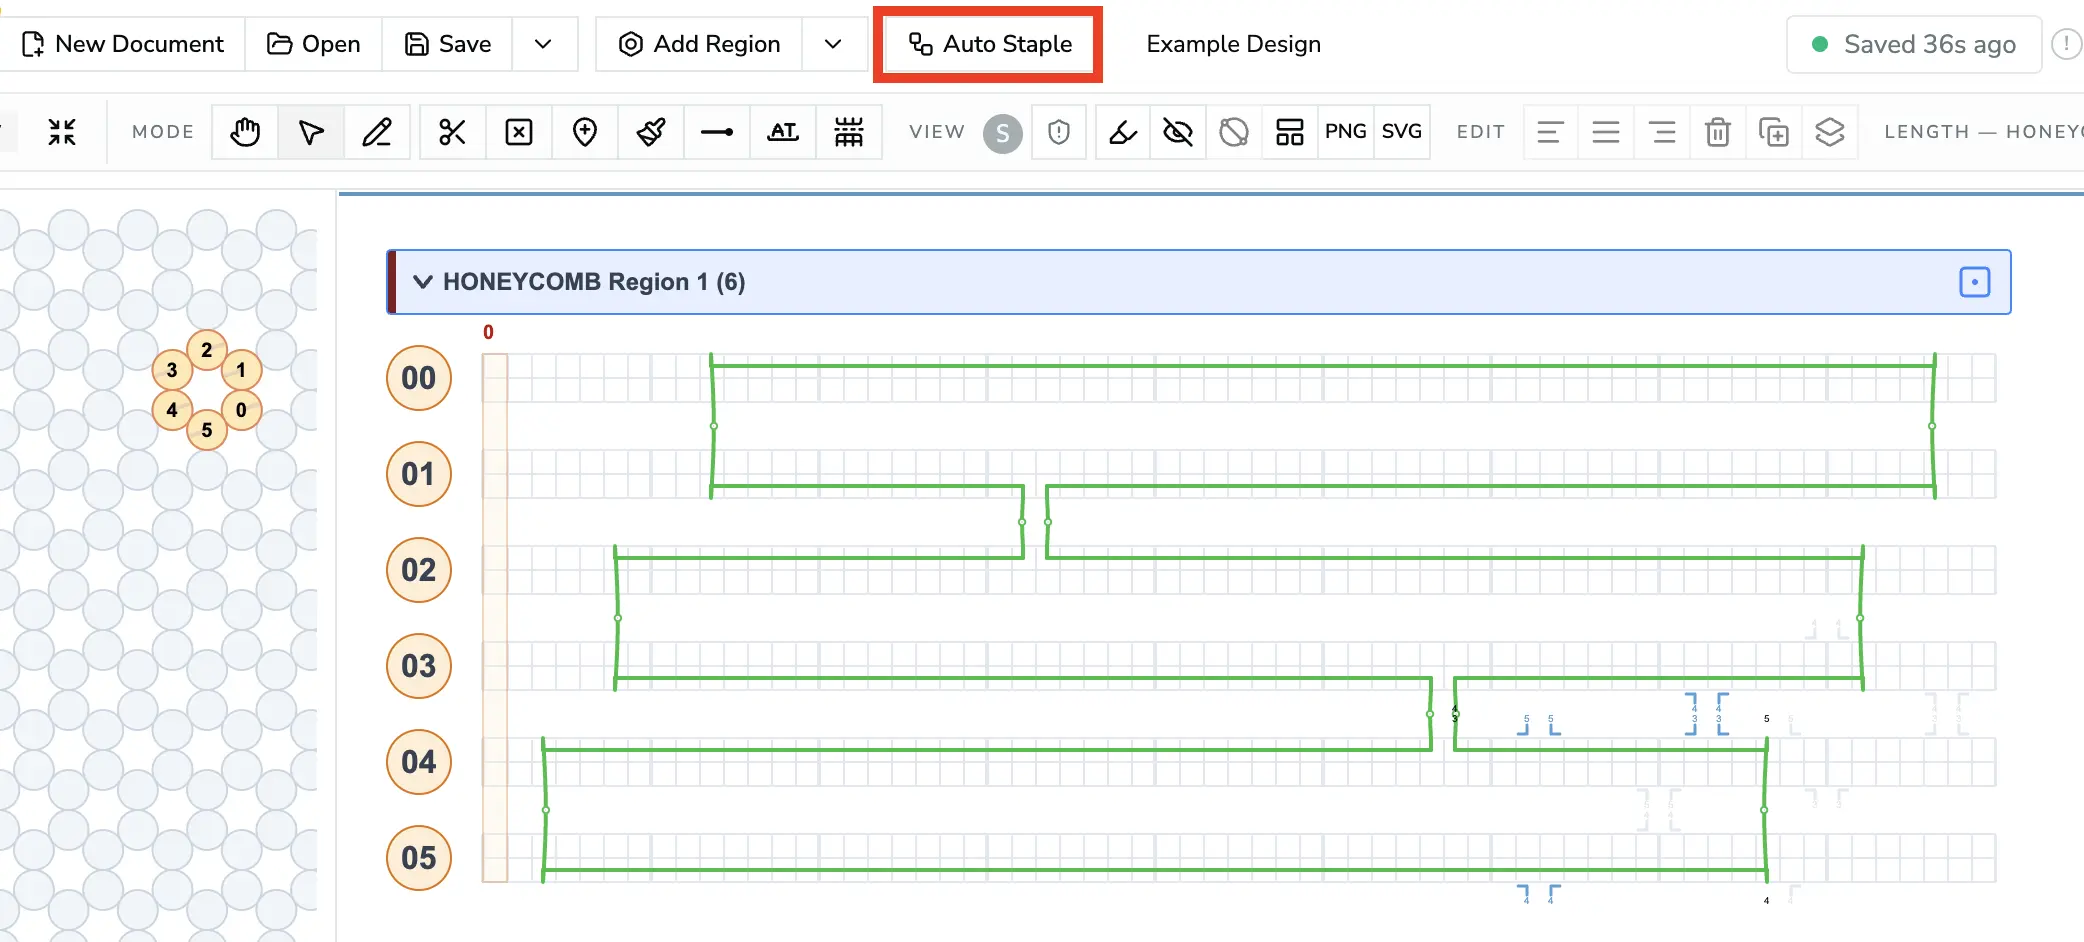
Before: only the scaffold is routed.
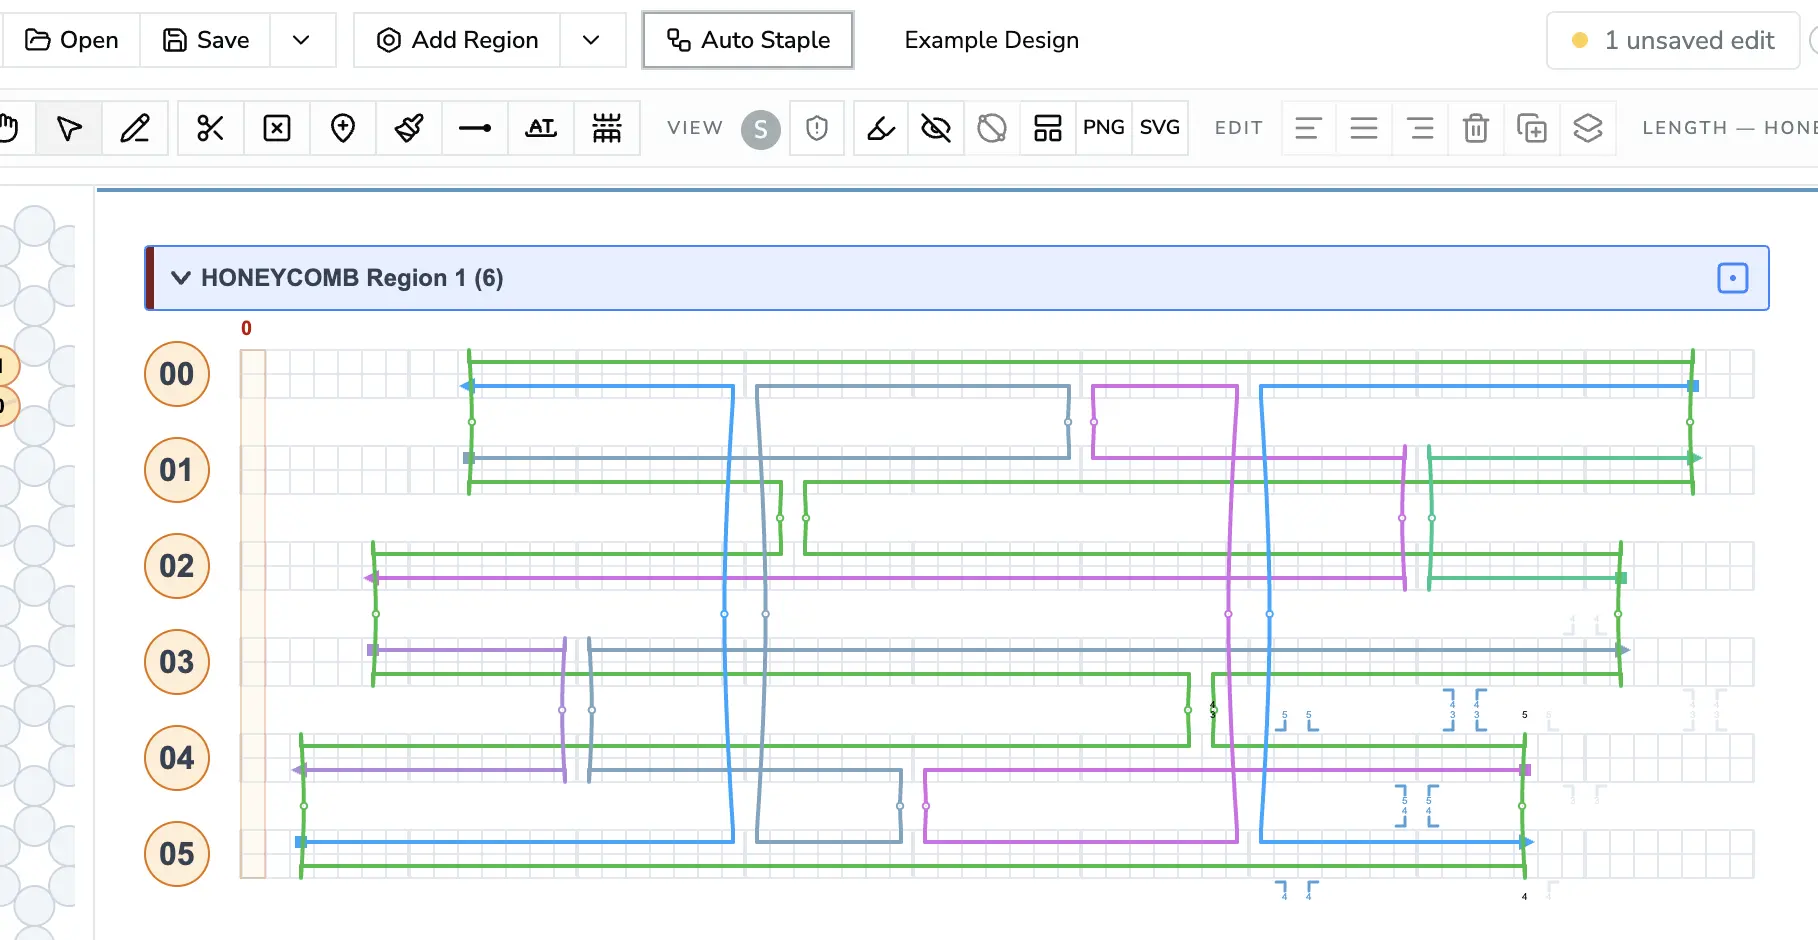
After: staples generated by Auto Staple.
Foldnano Versus Classic Cadnano
Foldnano is more flexible than classic cadnano, and a few defaults differ.
| Topic | Classic cadnano expectation | Foldnano behavior |
|---|---|---|
| Adding helices | Click lattice cells in Select mode | Switch to Draw mode (N) first; Select mode only selects and moves helices |
| Scaffold identity | Often implied by file slot and helix parity | Explicit oligo flag you set yourself |
| Strand-set pairing | Scaffold/staple distinction tied to lattice convention | Ends can connect whenever topology allows |
| Default scaffold fill | Often creates a circular scaffold by default | Double-clicking a helix circle fills the default strand set without creating a circular scaffold by default |
| Non-lattice geometry | Not represented | Preserved in .fn.json |
For compatibility import/export, cadnano scaf and stap arrays are treated as file-format directional conventions only; they are not the same as Foldnano's explicit scaffold label. See Mental Model.
Opening Cadnano Files
Foldnano checks a cadnano .json file before opening it. Small inconsistencies are repaired, and each repair is reported in a Cadnano import warning message so nothing changes without you knowing. Problems that have no safe repair stop the import with a message that names the helix and base.
| What Foldnano finds | What happens |
|---|---|
| A base claims a connection from a base that is empty | The claim is removed and the base becomes a free 5' (or 3') end, which is how cadnano draws it. A warning names the helix and base. |
| A deletion (skip) on a crossover base | The deletion moves to the neighbouring base, because Foldnano doesn't allow deletions on crossover bases. A warning names both positions. |
| An insert on a crossover base | The insert stays where it is, and the Editor rules design check marks it (see Design Checks While You Edit). Move or remove it before simulating. |
| A helix length that fits both honeycomb (21) and square (32), such as 672 | Foldnano picks the lattice whose crossover positions match. If the file has no crossovers to go by, you're asked to choose. |
| Two bases that disagree about how they connect | The file isn't opened. |
| Two helices on one lattice position, a negative lattice position, or helices of different lengths | The file isn't opened. |
| A strand only one base long | The file isn't opened. Extend or remove it in cadnano first. |
Loading a cadnano file as a region (Add Region, then Load Cadnano Design as a Region) runs the same checks. The Design Checks Reference has the full list.
Any design you open, cadnano or Foldnano, is also checked for things the editor wouldn't create itself, such as a skip on one strand and an insert on the other at the same base, or a helix whose number doesn't match its lattice position. These are listed in one warning message; the design still opens so you can fix it. A Foldnano design with helices at negative lattice positions is moved onto the grid without changing where it sits in 3D, and the message says so.
Design Checks While You Edit
The Design checks button in the strand view toolbar (the shield, next to the scaffold indicator S) marks problems right on the canvas. Choose which checks to show:
| Check | Default | What it marks |
|---|---|---|
| Editor rules | on | Things the editor wouldn't create itself, usually from an imported file or a plugin: a skip on one strand and an insert on the other at the same base, a skip or insert on a crossover site (cadnano import already moves skips off crossover sites, so from a cadnano file this is usually an insert; Foldnano files and plugin results aren't changed on the way in), helices sharing or outside the lattice, a helix number that doesn't match its lattice position. |
| Simulation export | off | What oxDNA and mrDNA export would refuse, such as a skip or insert on a base where only one strand exists. See Simulation And Export. |
| Cadnano export | off | What cadnano JSON can't hold for the active region, such as a connection from a cadnano scaffold path to a staple path. See Exporting cadnano JSON. |
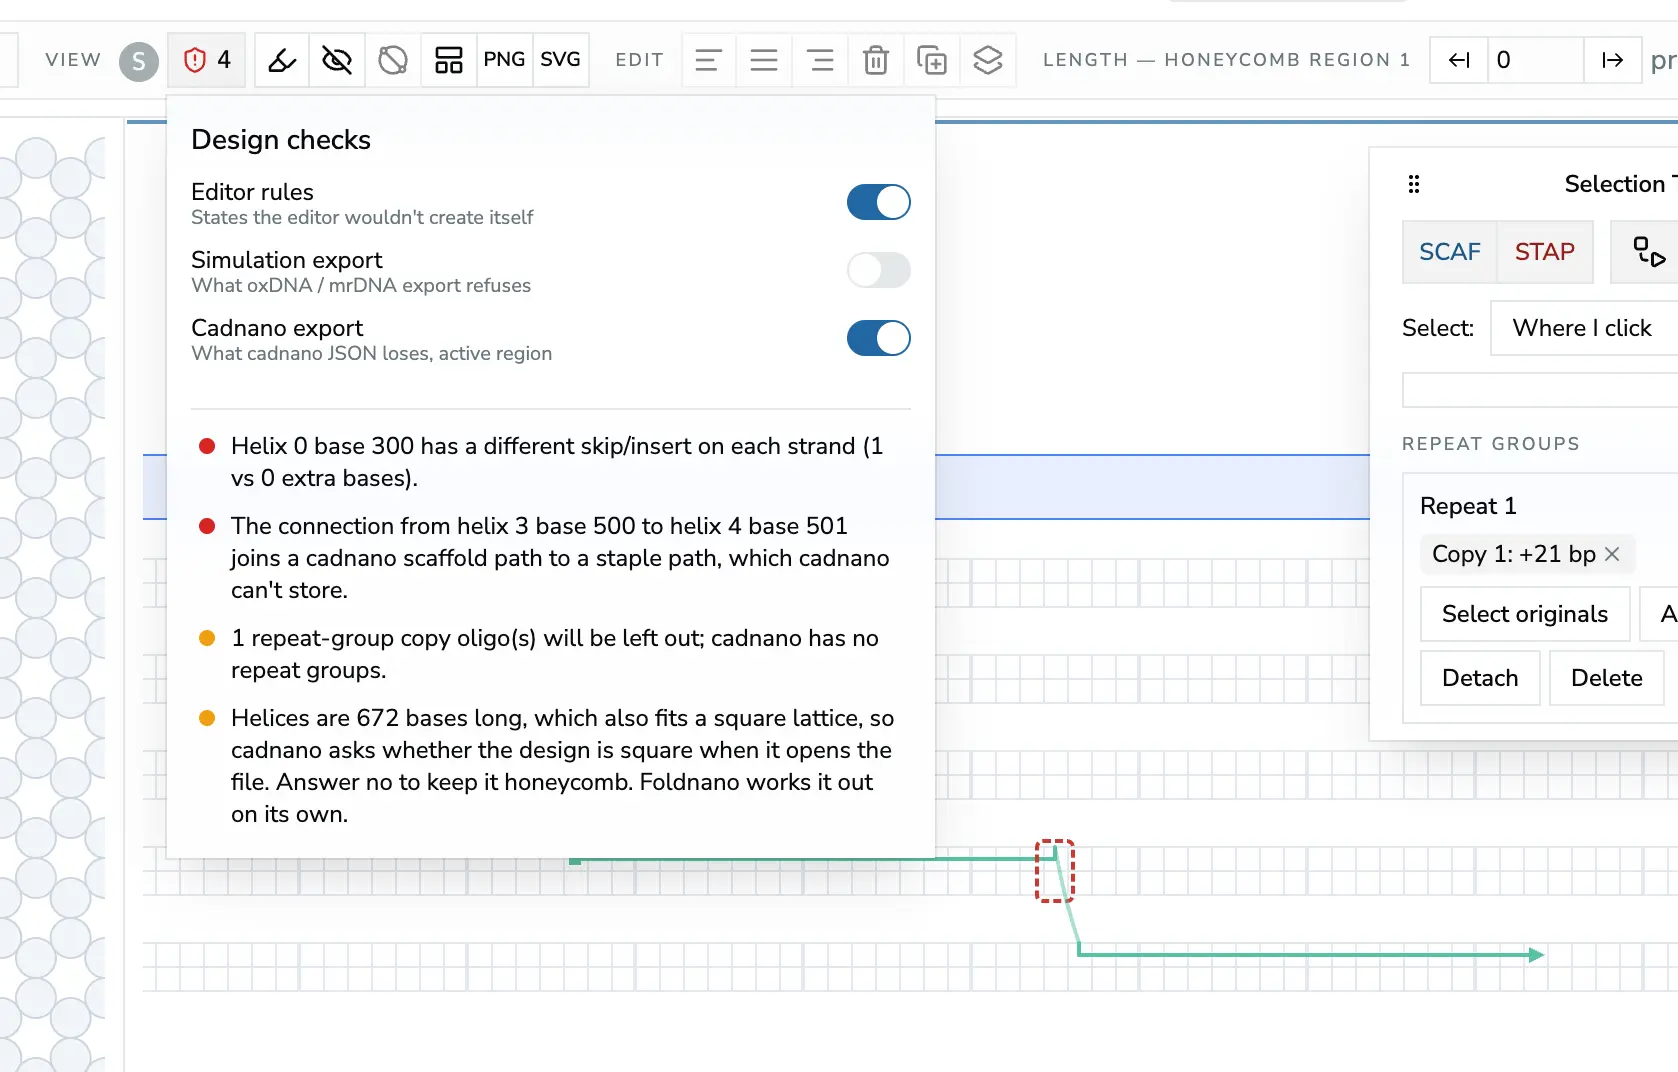
The Design checks popover: switches on top, issues below. Click an issue to jump to its frame on the canvas.
Problems are framed in red (must be fixed before that export works) or amber (would be lost or changed). The button shows how many there are; open it to see the list, and click an entry to jump to that helix and base. Some entries, such as connections to other regions that cadnano export would cut, describe a whole region and have no spot to jump to.
The marks update after each edit, undo or redo. Every check, and what to do about it, is listed in the Design Checks Reference.
When To Assign Scaffold Sequence
Topology edits (moving ends, adding skips/inserts, breaking strands, reconnecting segments) can make an already-assigned scaffold sequence locally stale, because the nucleotide path no longer matches the bases you assigned.
Tip
Finish the main topology first, then assign or refill the scaffold sequence. The scaffold sequence indicator tracks this for you: if it shows red, the assigned sequence may no longer match the topology, so refill before treating the sequence as final or exporting. See Editing Tools.
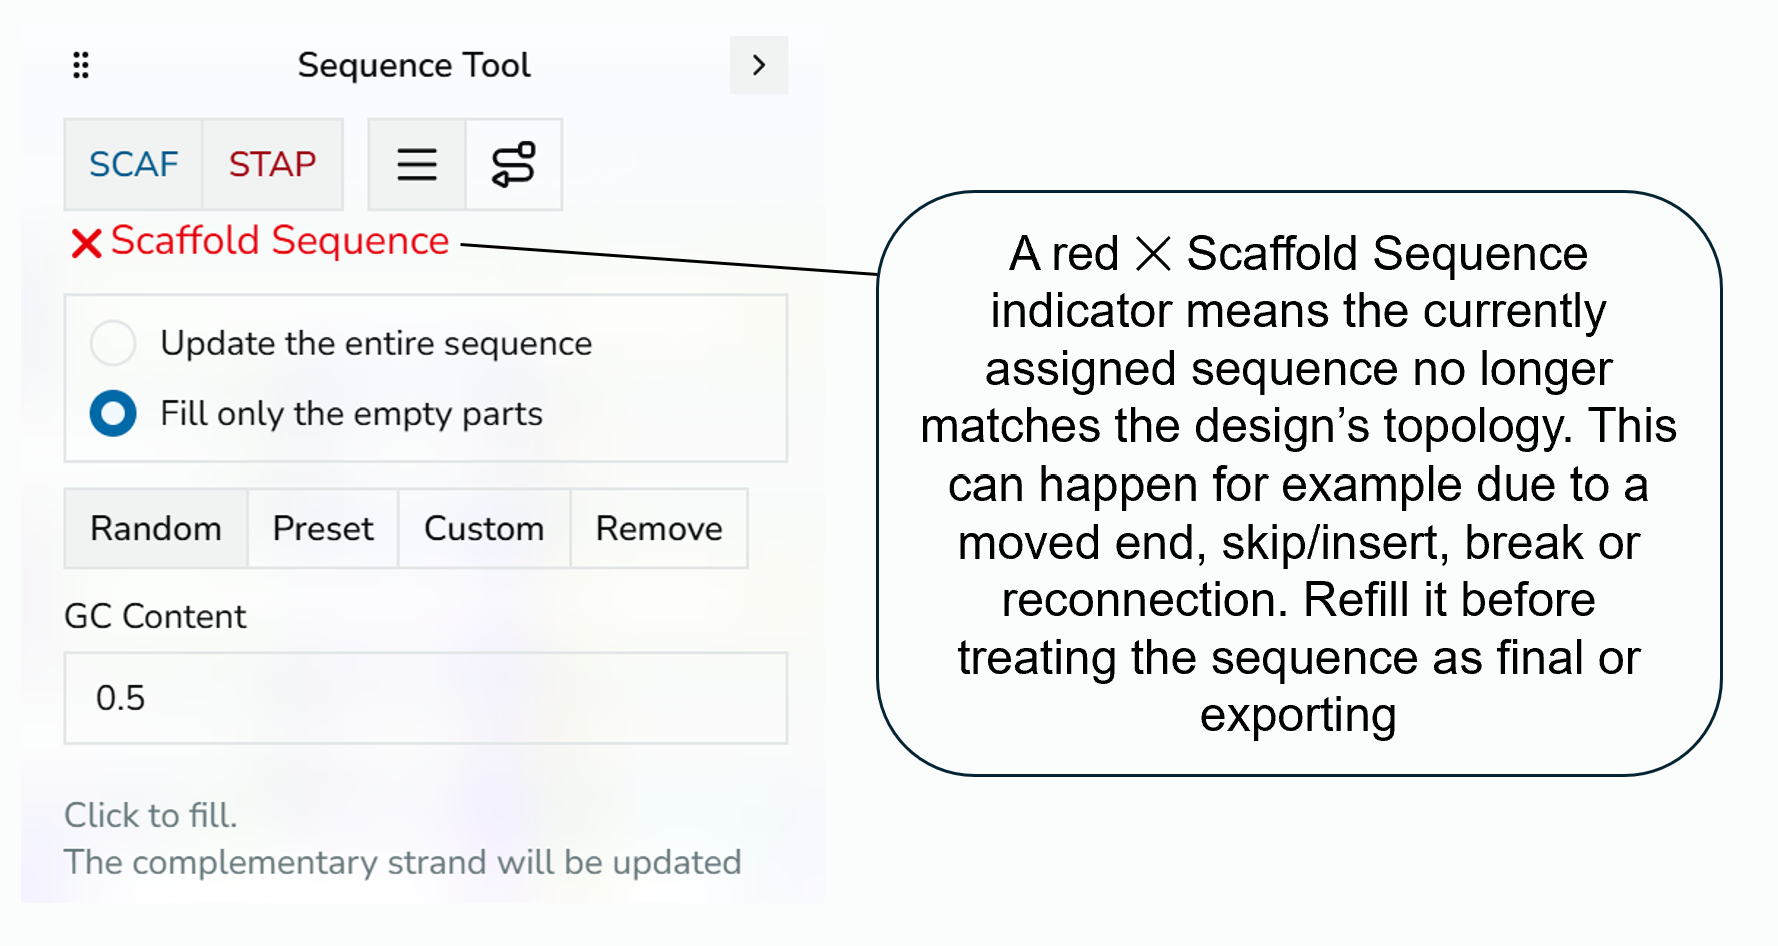
Scaffold Sequence indicator in its red/stale state, with a callout explaining that a red X means the sequence no longer matches the design's topology and should be refilled.